

The Truth About Infrared Lead Sealing
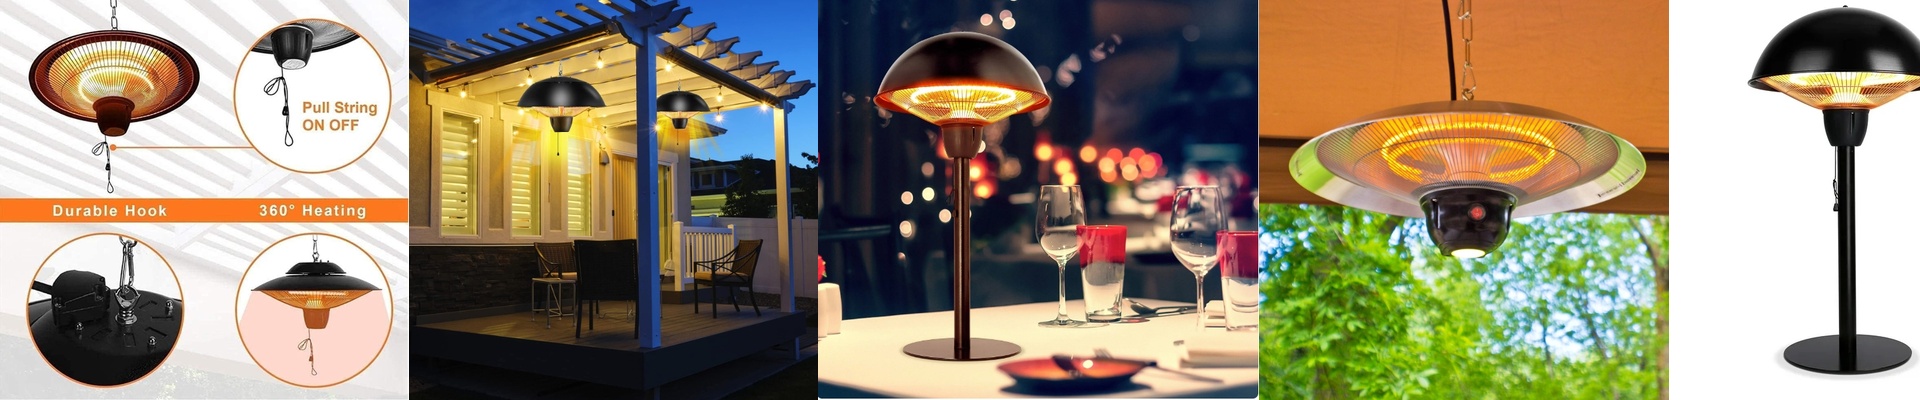
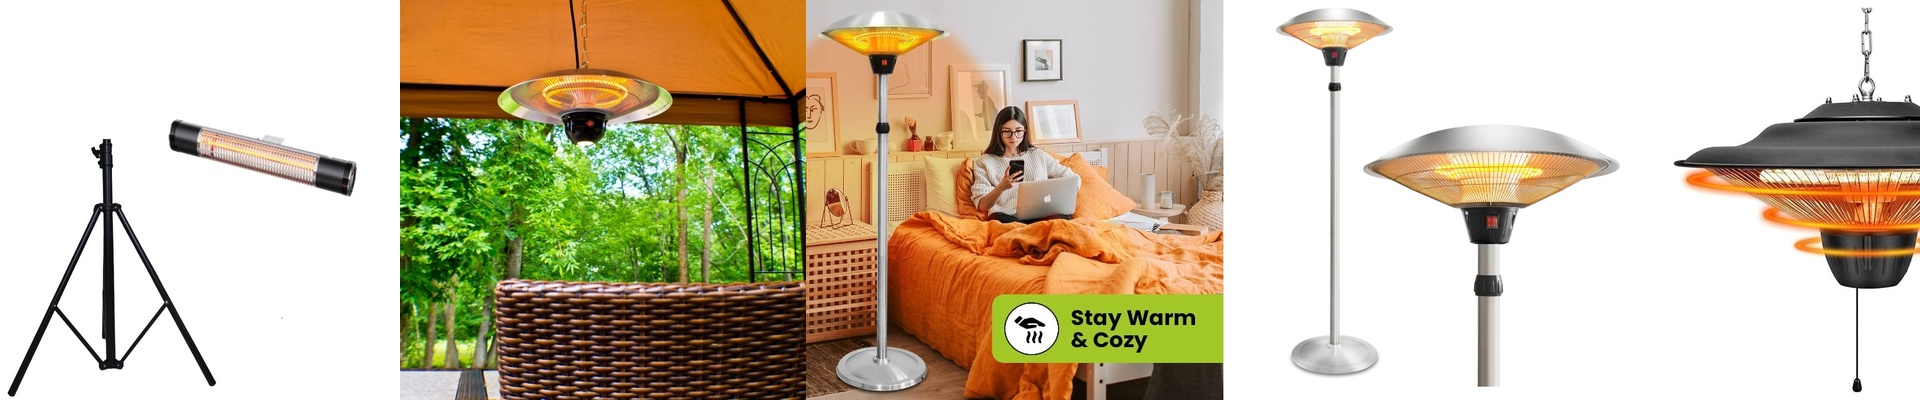
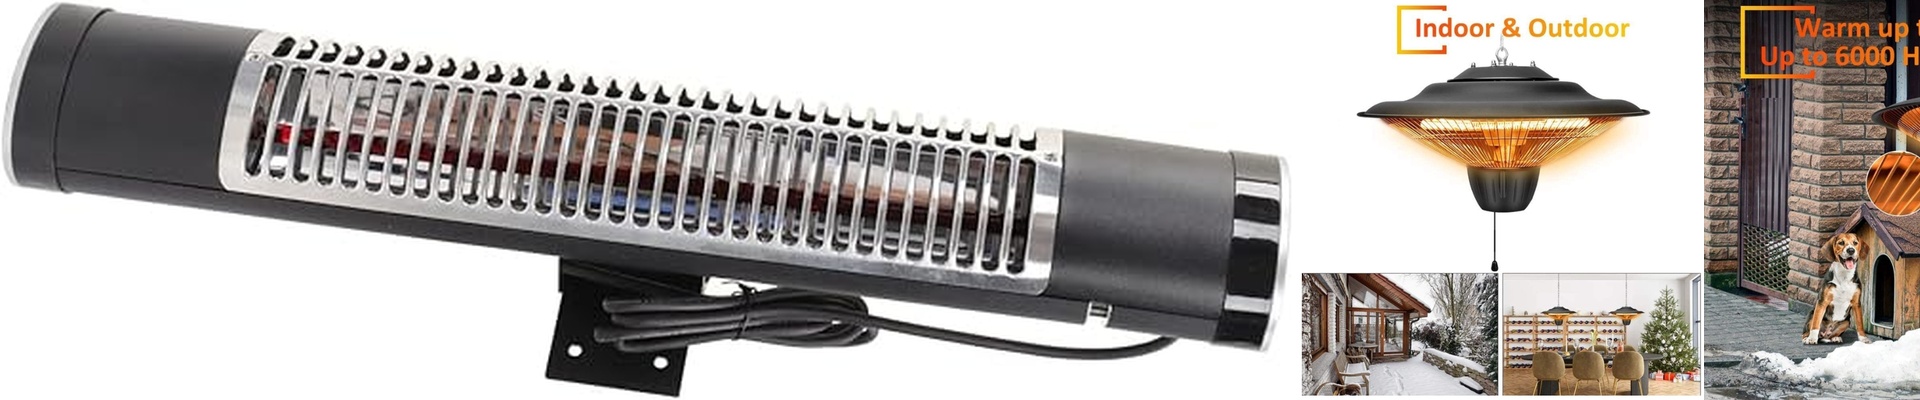
If you’ve ever mounted an infrared heater to a Ceiling, you know the struggle. The lead wires are basically sitting in a oven. They’re fighting a constant battle against “heat soak,” and most of the generic heaters on the market just aren’t built for it. They use basic shrink-wrap or some cheap silicone. It looks fine on day one. But then it happens. The insulation cracks. It shrinks. You get carbonization, and before you know it, you’ve got a short circuit on your hands.
Why the cheap stuff fails
It’s simple physics: heat rises. When a heater is on the ceiling, those wires are soaking up all that reflected thermal energy. I’ve seen “commercial-grade” units where the insulation turns brittle and flaky after just six months. Once that wire is exposed, it starts pulling in dust and moisture. Then it arcs. Then it burns out. It’s a mess.
How we actually fix it
We do things a bit differently. Instead of just sliding a sleeve over the wire and calling it a day, we use a multi-stage compression seal right where the lead enters the housing. We use high-Tg fluoropolymers. That’s just a fancy way of saying the stuff doesn’t melt or move, even when the heater is cranking at max temp. Because the seal is airtight, oxygen can’t get to the internal connections. That’s huge. When copper leads oxidize, the resistance goes up. Higher resistance makes the connection get even hotter, which causes more oxidation. It’s a vicious cycle that usually ends in a dead heater.
A few tips for the install
Here’s the catch: because this seal is so heavy-duty, the leads are stiffer. Don’t bend them at sharp angles. If you kink the wire just to cram it into a tight junction box, you’re going to stress the seal and ruin everything we just talked about. Give the wires a nice, gradual curve. And please, do yourself a favor—use high-temp rated conduits. If you use standard PVC pipe, that plastic is going to melt long before the heater ever has a problem.